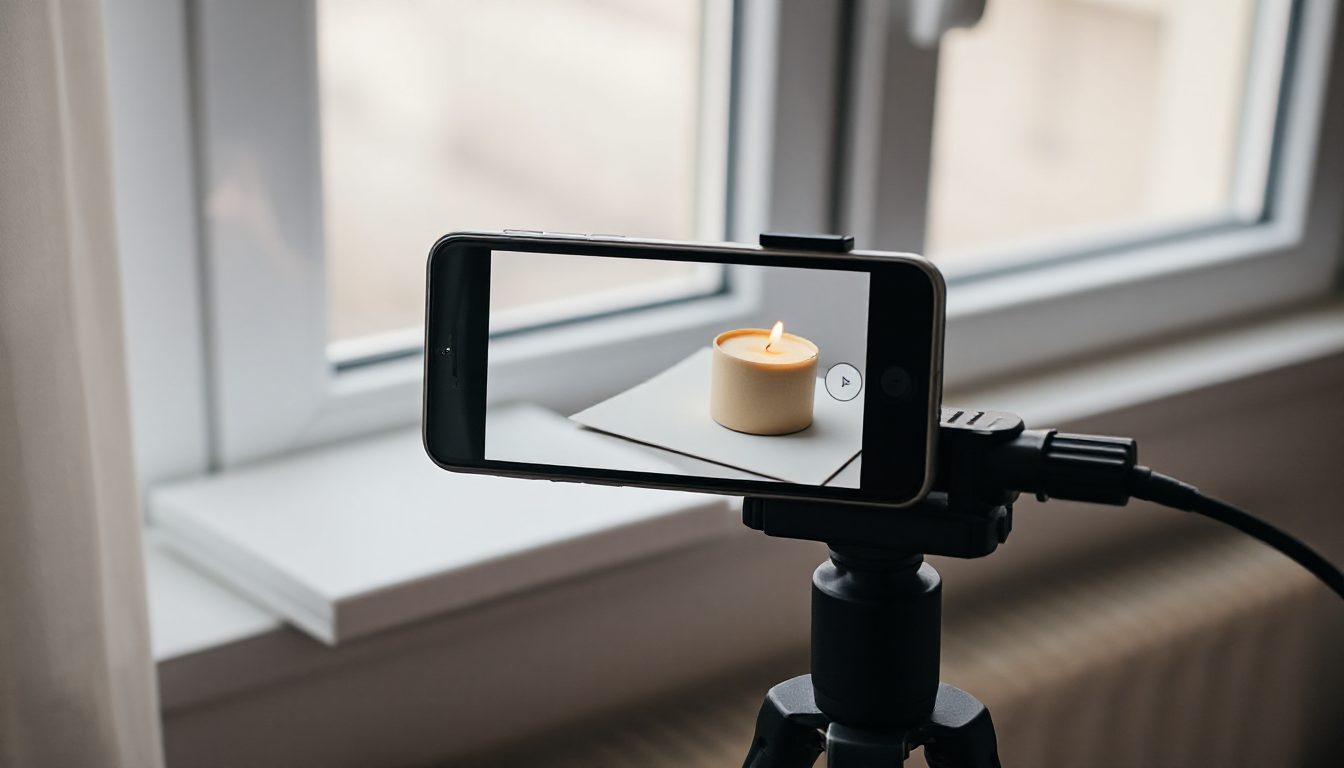
Photos are the first thing a shopper judges and the main reason they do not buy. The good news is that the camera in your pocket is better than the equipment most small shops used ten years ago. What makes the difference is light, background and a repeatable setup, not the gear.
The setup: ten minutes, under 20 in materials
- A window with indirect daylight. Not direct sun — it makes harsh shadows. A north-facing window or an overcast day is perfect.
- A table pushed next to the window.
- A white background. A large sheet of white card curved up behind the product so there is no visible corner.
- A reflector. A piece of white foam board on the shadow side bounces light back and softens shadows.
- A phone tripod. Even a cheap one removes blur and keeps every photo framed the same way.
Phone settings that matter
- Wipe the lens. Most "soft" phone photos are a smudged lens.
- Turn off the flash.
- Tap the product to focus, then slide the exposure down slightly so whites are not blown out.
- Use the main (1x) lens, not the wide or digital zoom.
- Turn on the grid to keep things level.
The five shots every product needs
| Shot | Why |
|---|
| Front, on white | The main listing image — clean and consistent |
| Angle or side | Shows shape and depth |
| Close-up detail | Texture, stitching, material — answers "is it good quality?" |
| In use or in context | Scale and lifestyle — the candle on a table, the bag on a shoulder |
| Group or what's included | Everything in the box; variants side by side |
Styling without overdoing it
- One or two props that make sense — a cup beside the coffee beans, not a jungle of plants.
- Match the colours to your brand.
- Keep the product the biggest thing in the frame.
- Photograph every product the same way so your shop looks like one brand.
Editing in two minutes
- Crop square (or 4:5) with the product centred.
- Brightness up a touch; whites should look white.
- Slight contrast and sharpness.
- Do not over-saturate — the colour must match what arrives in the box, or returns go up.
Free phone editors are enough. Save a preset so every photo gets the same treatment.
Common mistakes
- Shooting at night under yellow room light.
- Busy backgrounds — a patterned tablecloth, a messy kitchen.
- Different lighting and angles for every product.
- Only one photo per product.
- Filters that change the product's colour.
Where AI helps
- Background removal turns a decent photo into a clean white-background listing image.
- Background replacement puts your product on a marble counter or a beach without a shoot.
- Lifestyle scenes from one product photo for social media.
Use AI for backgrounds and scenes, never to change the product itself. Customers need to receive what they saw.
Frequently asked questions
Do I need a lightbox?
A window and a white card do the same job for most products. A lightbox helps for small shiny items like jewellery.
What size should photos be?
Shoot at full resolution, then let your website compress them. Square or 4:5 works almost everywhere.
Volnyn's image tools remove and replace backgrounds and create lifestyle scenes from your own product photos, and the AI builder places them on your product pages. Start free at volnyn.com.