
Welcome to Volnyn
Sign in or create an account to continue
Continue with Google
or
Sign in with email
New here? Create an account
By continuing, you agree to our Terms of Service
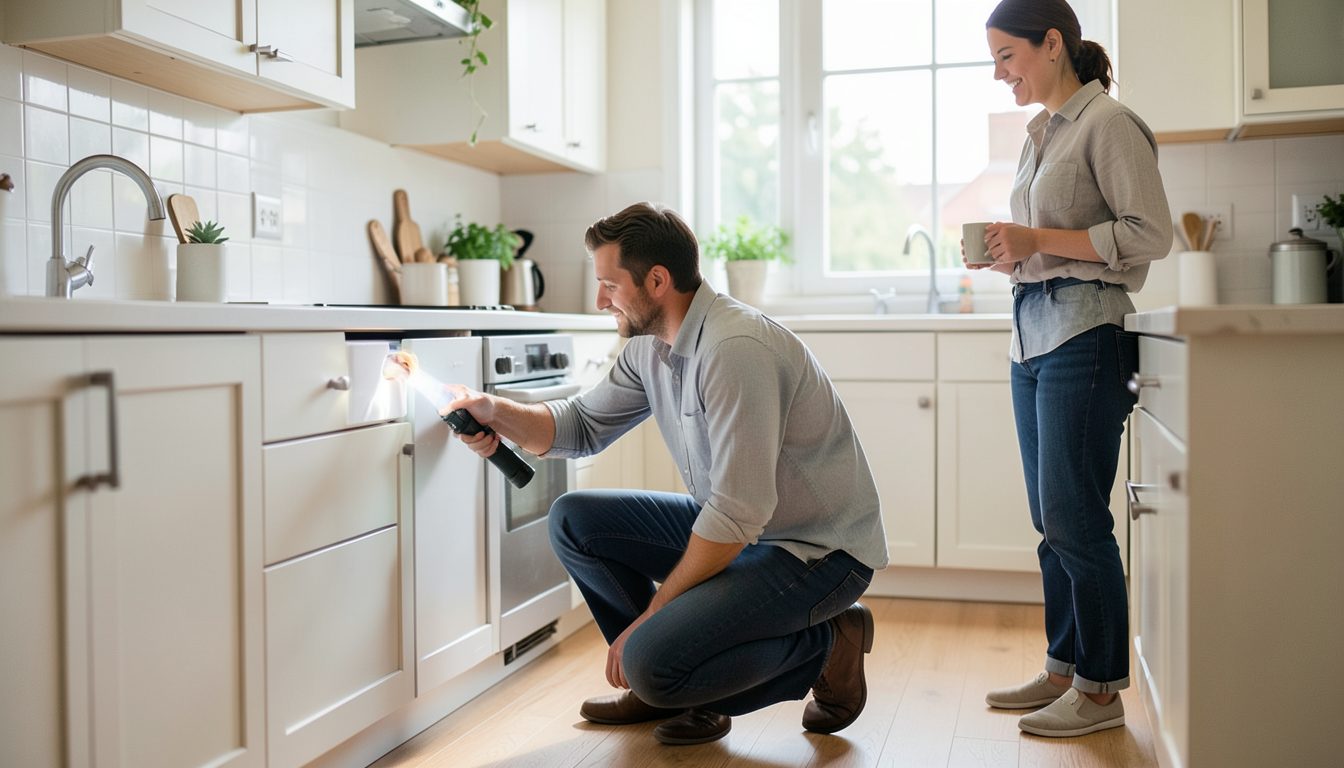
Between move-in and move-out, many landlords never see the inside of their units. That is usually when small problems turn into big ones: a slow drip under the sink that rots the cabinet, a smoke alarm with a dead battery, a bathroom fan that stopped working and left mold behind. A routine inspection during the lease catches these early. Done well, tenants see it as maintenance rather than an intrusion.
Tenants are far less bothered by an inspection they knew about from the start. State in the lease that you carry out routine inspections, roughly how often, how much notice you give and what you will be checking. Mention it again at move-in. Rules on entry, notice periods and acceptable reasons for entering vary by location, so check your local rules and build your process around them.
Once or twice a year is a common rhythm for long-term rentals. More often than that can start to feel like surveillance unless there is a specific reason, such as a known leak you are monitoring.
Send notice in writing, at least as far ahead as your local rules require, and longer if you can. A good notice includes:
That last point turns the visit into something useful for the tenant. Many tenants put off reporting small issues, and an inspection is an easy moment to raise them.
A mid-lease inspection is not a move-out inspection. You are looking for maintenance needs, safety issues and clear lease problems, not judging housekeeping. Keep the checklist short and use the same one for every unit:
Arrive within the window you gave. Knock and announce yourself even if you have a key. If the tenant is home, ask whether they would like to walk around with you. Stay in the areas on your checklist and do not open drawers, closets or personal belongings unless you need to reach a specific fixture inside. Photograph maintenance items and the condition of fixtures, but avoid photographing personal belongings or papers. Thank the tenant before you leave.
If the tenant is not home, leave a short note saying you visited, what you checked and whether anything needs follow-up. Lock up exactly as you found it.
Within a few days, send the tenant a brief summary. List the repairs you will make and roughly when, anything you need them to do, such as replacing a filter or clearing a blocked exit, and any lease concern. Keep the tone factual and friendly. If there is a serious lease issue, handle it through your normal process for violations rather than burying it in the inspection summary.
Then do the repairs you promised, on time. Nothing builds goodwill for the next inspection like the tenant seeing that the last one led to a fixed dripping tap and a working fan. File the checklist, photos and summary in the tenancy folder so you can compare the unit's condition from one year to the next and spot slow changes before they become expensive.