
Welcome to Volnyn
Sign in or create an account to continue
Continue with Google
or
Sign in with email
New here? Create an account
By continuing, you agree to our Terms of Service
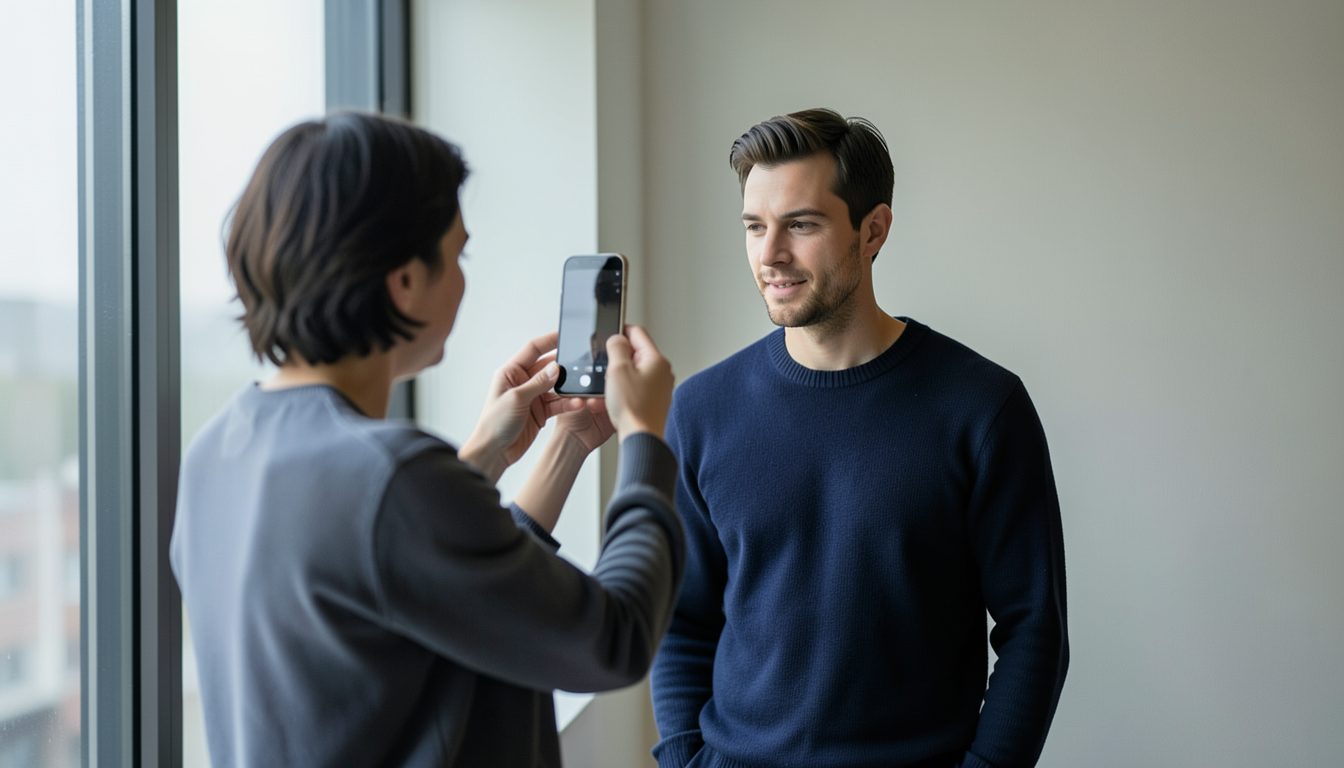
Your profile photo appears next to almost everything you do online: the about page on your website, your social profiles, marketplace listings, email signatures and video call accounts. People make quick judgements from it, and a dark, blurry or ten-year-old photo makes you look less current than you are. You do not need a studio. A phone, a window, a plain wall and half an hour are enough for a photo that looks professional.
Light matters more than the camera. The easiest good light is a large window during the day:
If one side of your face is much darker than the other, a sheet of white card or a pale pillowcase held just out of frame on the dark side will bounce some light back.
A plain wall in a light or neutral colour works well. Stand a few steps away from it rather than right against it, which reduces shadows and lets the background soften. Check the frame for clutter, a plant that seems to grow out of your head, or anything personal you would rather not share. A tidy bookshelf or a softly blurred room can work too, as long as it does not compete with your face.
A few camera habits make a big difference:
Wear what you would wear to meet a client, in solid colours rather than busy patterns. Avoid colours that match your background, so you do not blend into it. For the pose, turn your shoulders slightly away from the camera and your face back towards it, let your shoulders drop, and push your chin very slightly forward. Think of someone you like just before each shot; it gives a more natural expression than saying "cheese".
Take dozens of photos with small changes in angle, expression and position. Then choose with a few rules in mind:
Ask one or two honest people to help you pick. Most of us are poor judges of our own photos.
Basic edits are fine: straighten, crop, and adjust brightness and warmth a little. Avoid heavy filters or face-smoothing effects that make you look unlike yourself. Save a high-resolution square version and a smaller copy for places with upload limits.
Then update every profile at once, so people see the same face wherever they find you. Set a reminder to retake the photo every couple of years, or whenever your appearance changes noticeably. A current, clear, friendly photo is one of the simplest ways to make your online presence feel trustworthy.