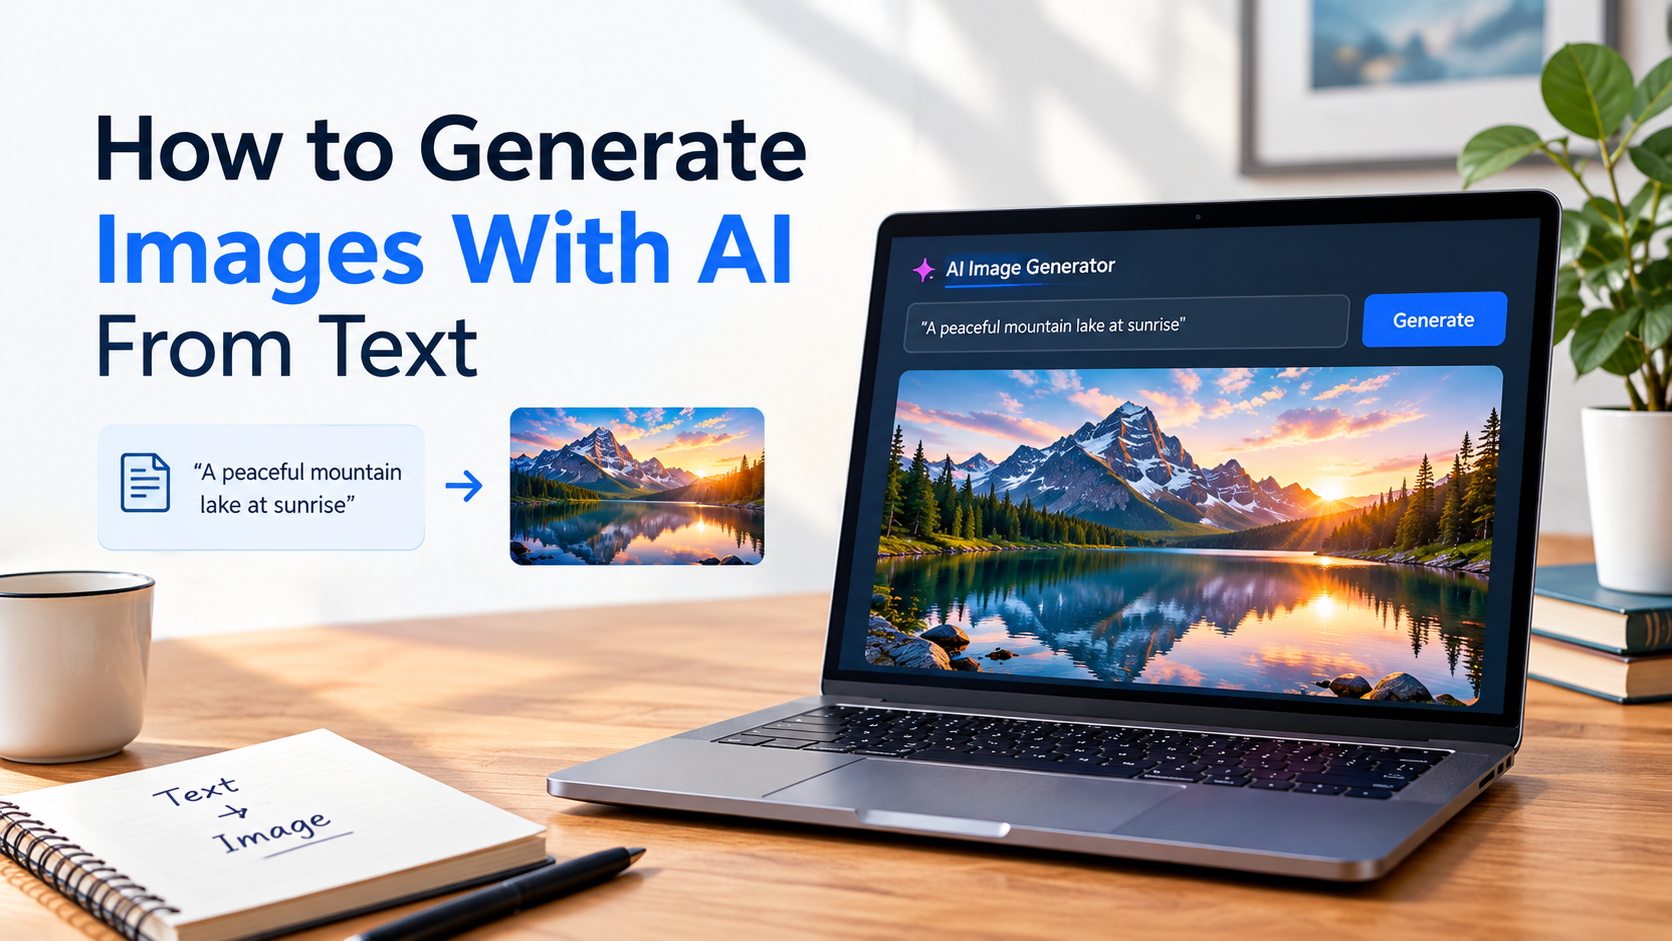
Creating an image no longer requires advanced Photoshop skills, professional photography equipment, or hours of searching through stock-photo libraries. With an AI image generator from text, you can describe an idea in words and turn that description into a visual.
The basic process is simple: write a prompt, generate an image, review the result, and refine the prompt until the image matches your goal.
The difficult part is usually not clicking the Generate button. It is knowing what to tell the AI, how much detail to provide, and how to improve the result when the first image is not what you expected.
This guide explains how to generate images with AI from text, how to write better prompts, common mistakes to avoid, and practical ways to create images for websites, social media, presentations, marketing, and creative projects.
What Is an AI Image Generator From Text?
An AI image generator from text is a generative AI tool that creates an image based on a written description, usually called a prompt.
For example, you could enter:
A cozy coffee shop on a rainy evening, warm interior lighting, large windows, cinematic photography.
The AI interprets the description and generates a visual based on the concepts, objects, setting, composition, lighting, and style described in the prompt.
This is also called text-to-image generation.
Modern image-generation tools can create different types of visuals, including:
Photorealistic scenes
Illustrations
Product concepts
Characters
Social media graphics
Fantasy artwork
Marketing visuals
Backgrounds
Concept art
Presentation images
The exact controls vary between tools, but the general workflow is similar: describe the desired image, generate a result, evaluate it, and refine the instructions.
How Does Text-to-Image AI Work?
At a high level, a text-to-image system connects your written description with visual patterns learned during model training.
You provide a prompt such as:
A modern electric car parked outside a glass office building at sunset.
The model interprets concepts such as:
It then generates a new image based on that interpretation.
You do not need to understand the underlying model architecture to use an AI image generator effectively. What matters more is communicating the visual result you want clearly.
That is why prompt quality matters.
How to Generate Images With AI From Text
The easiest way to get started is to follow a repeatable workflow.
1. Decide What You Want to Create
Before opening an AI image generator, define the purpose of the image.
Ask yourself:
What should be in the image?
Who will see it?
Where will I use it?
What style should it have?
What size or aspect ratio do I need?
Does it need to contain readable text?
For example, instead of starting with:
Make a business image.
Start with a specific goal:
Create a professional hero image for a small digital marketing agency website.
The second idea gives the image generator much more useful context.
2. Choose an AI Image Generator
Different tools offer different models, controls, workflows, and usage limits.
For example, Adobe Firefly provides text-to-image generation with controls for things such as content type, composition, style, color, lighting, and camera angle. (Adobe)
Canva also provides AI image generation from dedicated AI-tool pages and allows generated results to be downloaded, shared, or edited further in Canva. (Canva)
When choosing a tool, consider:
| What matters | Why it matters |
|---|
| Prompt quality | Determines how well the tool understands your idea |
| Image quality | Important for professional use |
| Style controls | Useful when you need a specific visual direction |
| Aspect ratios | Helps match social posts, websites, slides, or other formats |
| Reference images | Useful for controlling composition or visual style |
| Editing options | Helpful when the first generation is close but not perfect |
| Variations | Lets you explore multiple versions |
| Usage limits | Important when generating many images |
| Commercial-use terms | Important for business projects |
Do not choose a generator simply because it produces attractive sample images. Consider whether its workflow fits the type of images you actually need.
3. Write a Clear Prompt
Your prompt is the instruction you give the AI.
A weak prompt might be:
A nice restaurant.
A stronger prompt could be:
A modern rooftop restaurant in New York City at sunset, elegant outdoor tables, warm ambient lighting, city skyline in the background, realistic editorial photography, wide composition.
The second prompt gives the model several visual signals to work with.
A useful prompt can describe:
Subject
Action
Environment
Composition
Lighting
Style
Mood
Color
Aspect ratio or intended format
You do not always need every element. Add the details that actually matter for your image.
4. Add Details That Shape the Image
Consider this basic prompt:
A woman working on a laptop.
It describes the subject but leaves many visual decisions open.
You could make it more specific:
A young professional working on a laptop at a bright home office desk, large window in the background, natural morning light, minimal modern interior, realistic photography, medium shot.
Now the generator has more information about the scene.
Subject
What should appear?
A golden retriever puppy
Setting
Where is it?
Sitting in a modern living room
Composition
How should the scene be framed?
Close-up portrait with shallow depth of field
Lighting
What kind of light?
Soft morning window light
Style
What should it look like?
Photorealistic editorial photography
Mood
What feeling should it create?
Warm, peaceful, and inviting
Combining these details can produce a much more intentional result.
5. Generate the First Version
Once your prompt is ready, generate the image.
Do not expect every first-generation result to be perfect.
AI image generation is inherently variable. A result may have the right subject but the wrong composition, style, lighting, proportions, or small details.
The first generation should therefore be treated as a draft, not necessarily the final image.
6. Review the Result
Look at the image carefully.
Ask:
Is the main subject correct?
Is the composition useful?
Is the lighting appropriate?
Does the style match the project?
Are important objects missing?
Are there strange visual artifacts?
Is the image suitable for its intended platform?
If text appears in the image, is it readable and accurate?
This review step is important because an image can look impressive at first glance while still being unsuitable for the actual purpose.
7. Refine and Regenerate
If the image is close but not right, change the prompt.
For example:
First prompt:
A modern coffee shop interior.
Refined prompt:
A modern minimalist coffee shop interior with warm wooden tables, large floor-to-ceiling windows, indoor plants, soft afternoon sunlight, neutral colors, realistic architectural photography, wide horizontal composition.
The second version gives the model more visual direction.
A useful rule is to change one major thing at a time.
If you simultaneously change the subject, style, lighting, composition, and aspect ratio, it becomes difficult to understand what improved the result.
Volnyn's current AI Image Studio follows this iterative workflow: users can adjust prompts, models, aspect ratios, styles, and variations, then regenerate or edit the output. (Volnyn)
8. Download and Use the Final Image
When the result meets your requirements, download it and prepare it for its intended use.
Depending on the project, you may still need to:
AI generation is often the starting point of the visual workflow rather than the final step.
How to Write Better AI Image Prompts
Good prompts are not necessarily long prompts.
The goal is to provide useful visual information, not to fill the prompt with random descriptive words.
Compare these two prompts:
Weak:
Beautiful amazing professional high-quality image of a laptop.
Better:
A silver laptop on a clean wooden desk in a modern home office, soft natural window light, minimal interior, realistic product photography, shallow depth of field.
The second prompt uses specific information instead of generic quality words.
A Simple AI Image Prompt Formula
You can use this structure:
[Subject] + [Setting] + [Composition] + [Lighting] + [Style] + [Mood]
For example:
A luxury watch on a black stone surface + modern studio setting + close-up product composition + dramatic side lighting + photorealistic product photography + premium mood.
Not every prompt needs all six elements. Use only the details that help define the desired image.
AI Image Prompt Examples
Product Photography
A premium wireless headphone on a white marble surface, soft studio lighting, subtle shadows, clean luxury product photography, centered composition.
Social Media Post
A vibrant summer travel scene showing a young couple walking beside a tropical beach, bright natural sunlight, colorful clothing, energetic lifestyle photography, vertical composition.
Website Hero Image
A modern SaaS dashboard displayed on a laptop beside a smartphone, clean blue and white workspace, soft studio lighting, professional technology photography, wide horizontal composition with empty space on the left for website text.
Blog Illustration
A conceptual illustration showing artificial intelligence transforming written words into visual images, clean modern digital art, blue and purple abstract elements, professional technology editorial style.
Fantasy Artwork
A vast floating city above the clouds at sunrise, futuristic architecture, glowing bridges, dramatic clouds, cinematic fantasy concept art, wide-angle composition.
Presentation Image
A diverse business team collaborating around a table in a modern office, large windows, natural daylight, professional corporate photography, wide landscape composition.
How to Generate Different Styles From Text
The same basic idea can produce very different results depending on how you describe the visual style.
| Style | Example instruction |
|---|
| Photorealistic | realistic editorial photography |
| Product photography | clean commercial product photography |
| Illustration | modern editorial illustration |
| Anime | detailed anime-style illustration |
| 3D | polished 3D render |
| Cinematic | cinematic lighting and dramatic composition |
| Minimalist | clean minimalist design |
| Watercolor | soft watercolor illustration |
| Concept art | detailed cinematic concept art |
| Isometric | clean isometric 3D illustration |
The important thing is to use a style that supports the purpose of the image.
A blog explaining accounting software may benefit from a clean editorial illustration, while a product landing page may need a realistic product image.
How to Get More Realistic AI Images
If your generated image looks artificial, focus on the visual characteristics that make photographs believable.
Try adding details such as:
For example:
A professional photographer taking portraits outdoors in a city park, natural afternoon light, realistic skin texture, subtle background blur, documentary photography style.
Avoid filling the prompt with meaningless phrases such as:
ultra mega super 8K masterpiece best amazing image
Specific visual instructions are generally more useful than a pile of generic quality terms.
How to Create Images With Text Inside Them
This is an important limitation to understand.
Generating an image from a text prompt is different from generating an image that contains specific readable words.
For example, you might ask:
Create a coffee shop poster with the words "Fresh Coffee Every Morning."
The model may produce the overall poster concept correctly but render the requested words imperfectly.
Some modern models are better at text rendering than older systems, but you should still inspect important text carefully.
If exact wording matters, a practical workflow is:
Generate the visual background.
Check whether the generated text is correct.
If necessary, create the text separately.
Add the final typography using an image editor or design tool.
This is particularly important for:
Logos
Posters
Advertisements
Product packaging
Infographics
Social media graphics
Website banners
Do not assume that an attractive AI-generated image automatically contains production-ready typography.
How to Fix Common AI Image Problems
Problem 1: The Image Does Not Match the Prompt
Make the subject and desired result more explicit.
Instead of:
A professional office.
Try:
A bright modern office with three employees collaborating around a conference table, laptops open, large windows, natural daylight, realistic corporate photography.
Problem 2: The Image Has Too Many Objects
Simplify your prompt.
Specify the main subject and remove unnecessary details.
Problem 3: The Composition Is Wrong
Tell the generator how you want the image framed.
Useful terms include:
Close-up
Wide shot
Overhead view
Eye-level
Centered composition
Full-body shot
Landscape composition
Vertical composition
Problem 4: The Lighting Looks Wrong
Specify the lighting directly.
For example:
soft natural morning light
or:
dramatic studio lighting with controlled shadows
Problem 5: The Image Looks Too Artificial
Add contextual details and a more realistic visual direction.
For example:
realistic editorial photography, natural lighting, realistic materials, subtle depth of field.
Problem 6: Important Details Are Missing
Move the important element earlier in the prompt and describe it more clearly.
Instead of:
A city scene with a red sports car somewhere in the background.
Try:
A red sports car parked prominently on a city street, modern buildings in the background, evening lighting, cinematic automotive photography.
Free vs. Paid AI Image Generators
You can find both free and paid AI image-generation options.
A free option can be useful when you are:
Learning how text-to-image works
Testing prompts
Creating occasional personal images
Exploring different visual styles
A paid plan may become more useful when you need:
However, "free" does not automatically mean that a tool is suitable for every project.
Always check the tool's current usage limits, account requirements, commercial-use terms, and output restrictions before using generated images in important commercial work.
When Should You Use an AI Image Generator From Text?
Text-to-image generation can be particularly useful when the exact visual you need does not already exist.
Website design
Create:
Hero images
Section illustrations
Backgrounds
Product concepts
Blog graphics
Social media
Generate:
Post visuals
Campaign concepts
Thumbnail ideas
Promotional graphics
Lifestyle scenes
Marketing
Create visual concepts for:
Advertisements
Landing pages
Product campaigns
Email campaigns
Promotional materials
Presentations
Generate custom visuals that match the topic and style of a presentation instead of relying entirely on generic stock imagery.
Creative projects
AI image generators can also help with:
Concept art
Story development
Character ideas
Mood boards
Visual experimentation
The key advantage is flexibility: instead of searching for an existing image, you can describe the visual you want and generate a starting point.
How Volnyn Can Help You Generate Images From Text
If you want to turn this workflow into a single creative process, Volnyn AI Image Studio provides text-to-image generation along with controls for model, aspect ratio, style, and image variations. It also lets you edit generated images and save outputs to your Library. (Volnyn)
For example, you can start with:
A professional website hero image for a modern accounting firm, clean office interior, consultant reviewing financial documents with a client, natural daylight, realistic corporate photography, wide horizontal composition.
Then you can adjust the result instead of starting over completely.
Volnyn currently supports multiple image models in its Image Studio, including Volnyn Image, Seedream, and Grok Imagine, with available aspect ratios including 1:1, 16:9, 9:16, 4:3, and 3:4. (Volnyn)
If you want a conversational workflow, Volnyn Agent can also work with images, reference uploads, creative briefs, and iterative refinement before handing the work into the dedicated Image Studio. (Volnyn)
[INTERNAL LINK PLACEHOLDER — Best AI Image Generator]
Place the internal link on the exact anchor text “best AI image generator” when the supporting article is published.
The goal is not to generate one image and stop. For professional work, a better workflow is:
Describe → Generate → Review → Refine → Edit → Save
That process gives you more control over the final result.
Frequently Asked Questions
Can AI generate images from text?
Yes. Text-to-image AI systems can interpret written prompts and generate images based on the described subject, setting, style, composition, and other visual characteristics.
How do I generate an image from text?
Choose a text-to-image AI tool, enter a clear description of the image you want, generate the first version, review the result, and refine your prompt until the output fits your requirements.
What should I include in an AI image prompt?
Start with the subject and add relevant details such as the setting, composition, lighting, visual style, mood, colors, and intended format.
Do AI image prompts need to be very long?
No. A longer prompt is not automatically better. A short prompt containing specific visual information can be more useful than a long prompt filled with generic adjectives.
Can I generate realistic images with AI?
Yes. Many current image generators can create photorealistic-looking images. Results depend on the model, prompt, subject, and settings you use.
Can AI image generators create text inside images?
Some models can render text inside generated images, but accuracy can vary. If exact wording is important, inspect the result carefully and consider adding the final text separately.
Can I use AI-generated images for business purposes?
It depends on the specific tool, plan, model, and applicable terms. Before using an image commercially, check the provider's current licensing and usage conditions.
What if my first AI-generated image is wrong?
Treat the first generation as a draft. Identify what is wrong, change the relevant part of the prompt, and regenerate. Changing one major variable at a time makes the refinement process easier to understand.
Final Takeaway
Learning how to generate images with AI from text is less about finding a magic prompt and more about developing a reliable workflow.
Start with a clear idea, describe the important visual details, generate a first version, inspect it carefully, and refine what is not working.
A simple framework to remember is:
Idea → Prompt → Generate → Review → Refine → Finalize
Once you understand that process, you can use text-to-image AI for website visuals, social media content, presentations, marketing campaigns, product concepts, illustrations, and many other creative projects.
The quality of the final image depends not only on the AI model but also on how clearly you communicate what you want.